Progressing – the ‘white’ layer
Ahhhh… the white layer helps to brighten and define. The end is near! Next comes the flames of the red bird (now yellow).

White layer on the China Steps mural

Ahhhh… the white layer helps to brighten and define. The end is near! Next comes the flames of the red bird (now yellow).
White layer on the China Steps mural
The yellow areas are highlighted a little bit before the next layer….

The “blue” layer…. helps me to sketch in where the black areas will be.

The images emerge like ghosts.
The best part has begun. This will go rather quickly, so I’m glad that this is being documented (a first for me).
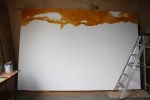
Today I finished the layout and drawing in pencil, and began painting the sky and mountains. It’s best to start at the top and work down!

Again I was lucky to get the assistance of a burly man, this time my dad! We laid the frame down on the ground, put glue all over the top, and carefully placed the three pieces of primed plywood on top.
We then waited 24 hours to for it to dry, before putting in a few screws, slightly sunken.
The next step was caulking the cracks and the sunken screws.
Then my husband, my dad, and I lifted it to stand against the wall.
And finally, today I applied a final coat of primer! Yessss, now for the good part….
drawing and then painting!
Ready for painting...
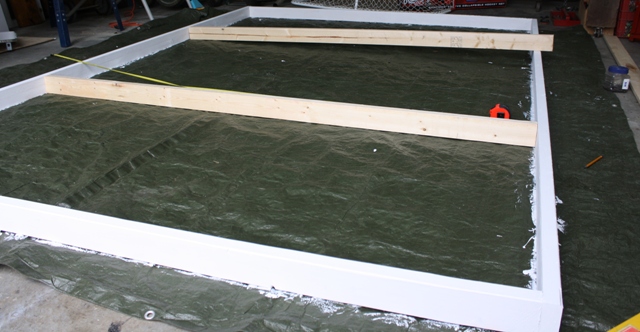
Framing materials:
2 pieces 12′ 2×4
4 pieces 8′ 2×4
PL400 glue
4″ Deck (coated) screws
Thanks to my neighbour, who’s a carpenter, the frame for the mural came together in 30 minutes! He cut the 2 x 4 spruce into 11′ 10″ top and bottom, and 7′ 10″ sides, plus two cross-bars where the plywood sheets meet. this simple frame would have been crooked if I had attempted it, and it would have taken me hours!
I then primed the frame and cross-bars, two coats. Finally, I inserted the cross-bars and screwed them in, ready for the plywood sheets to be laid across, glued in place. But that’s next time…